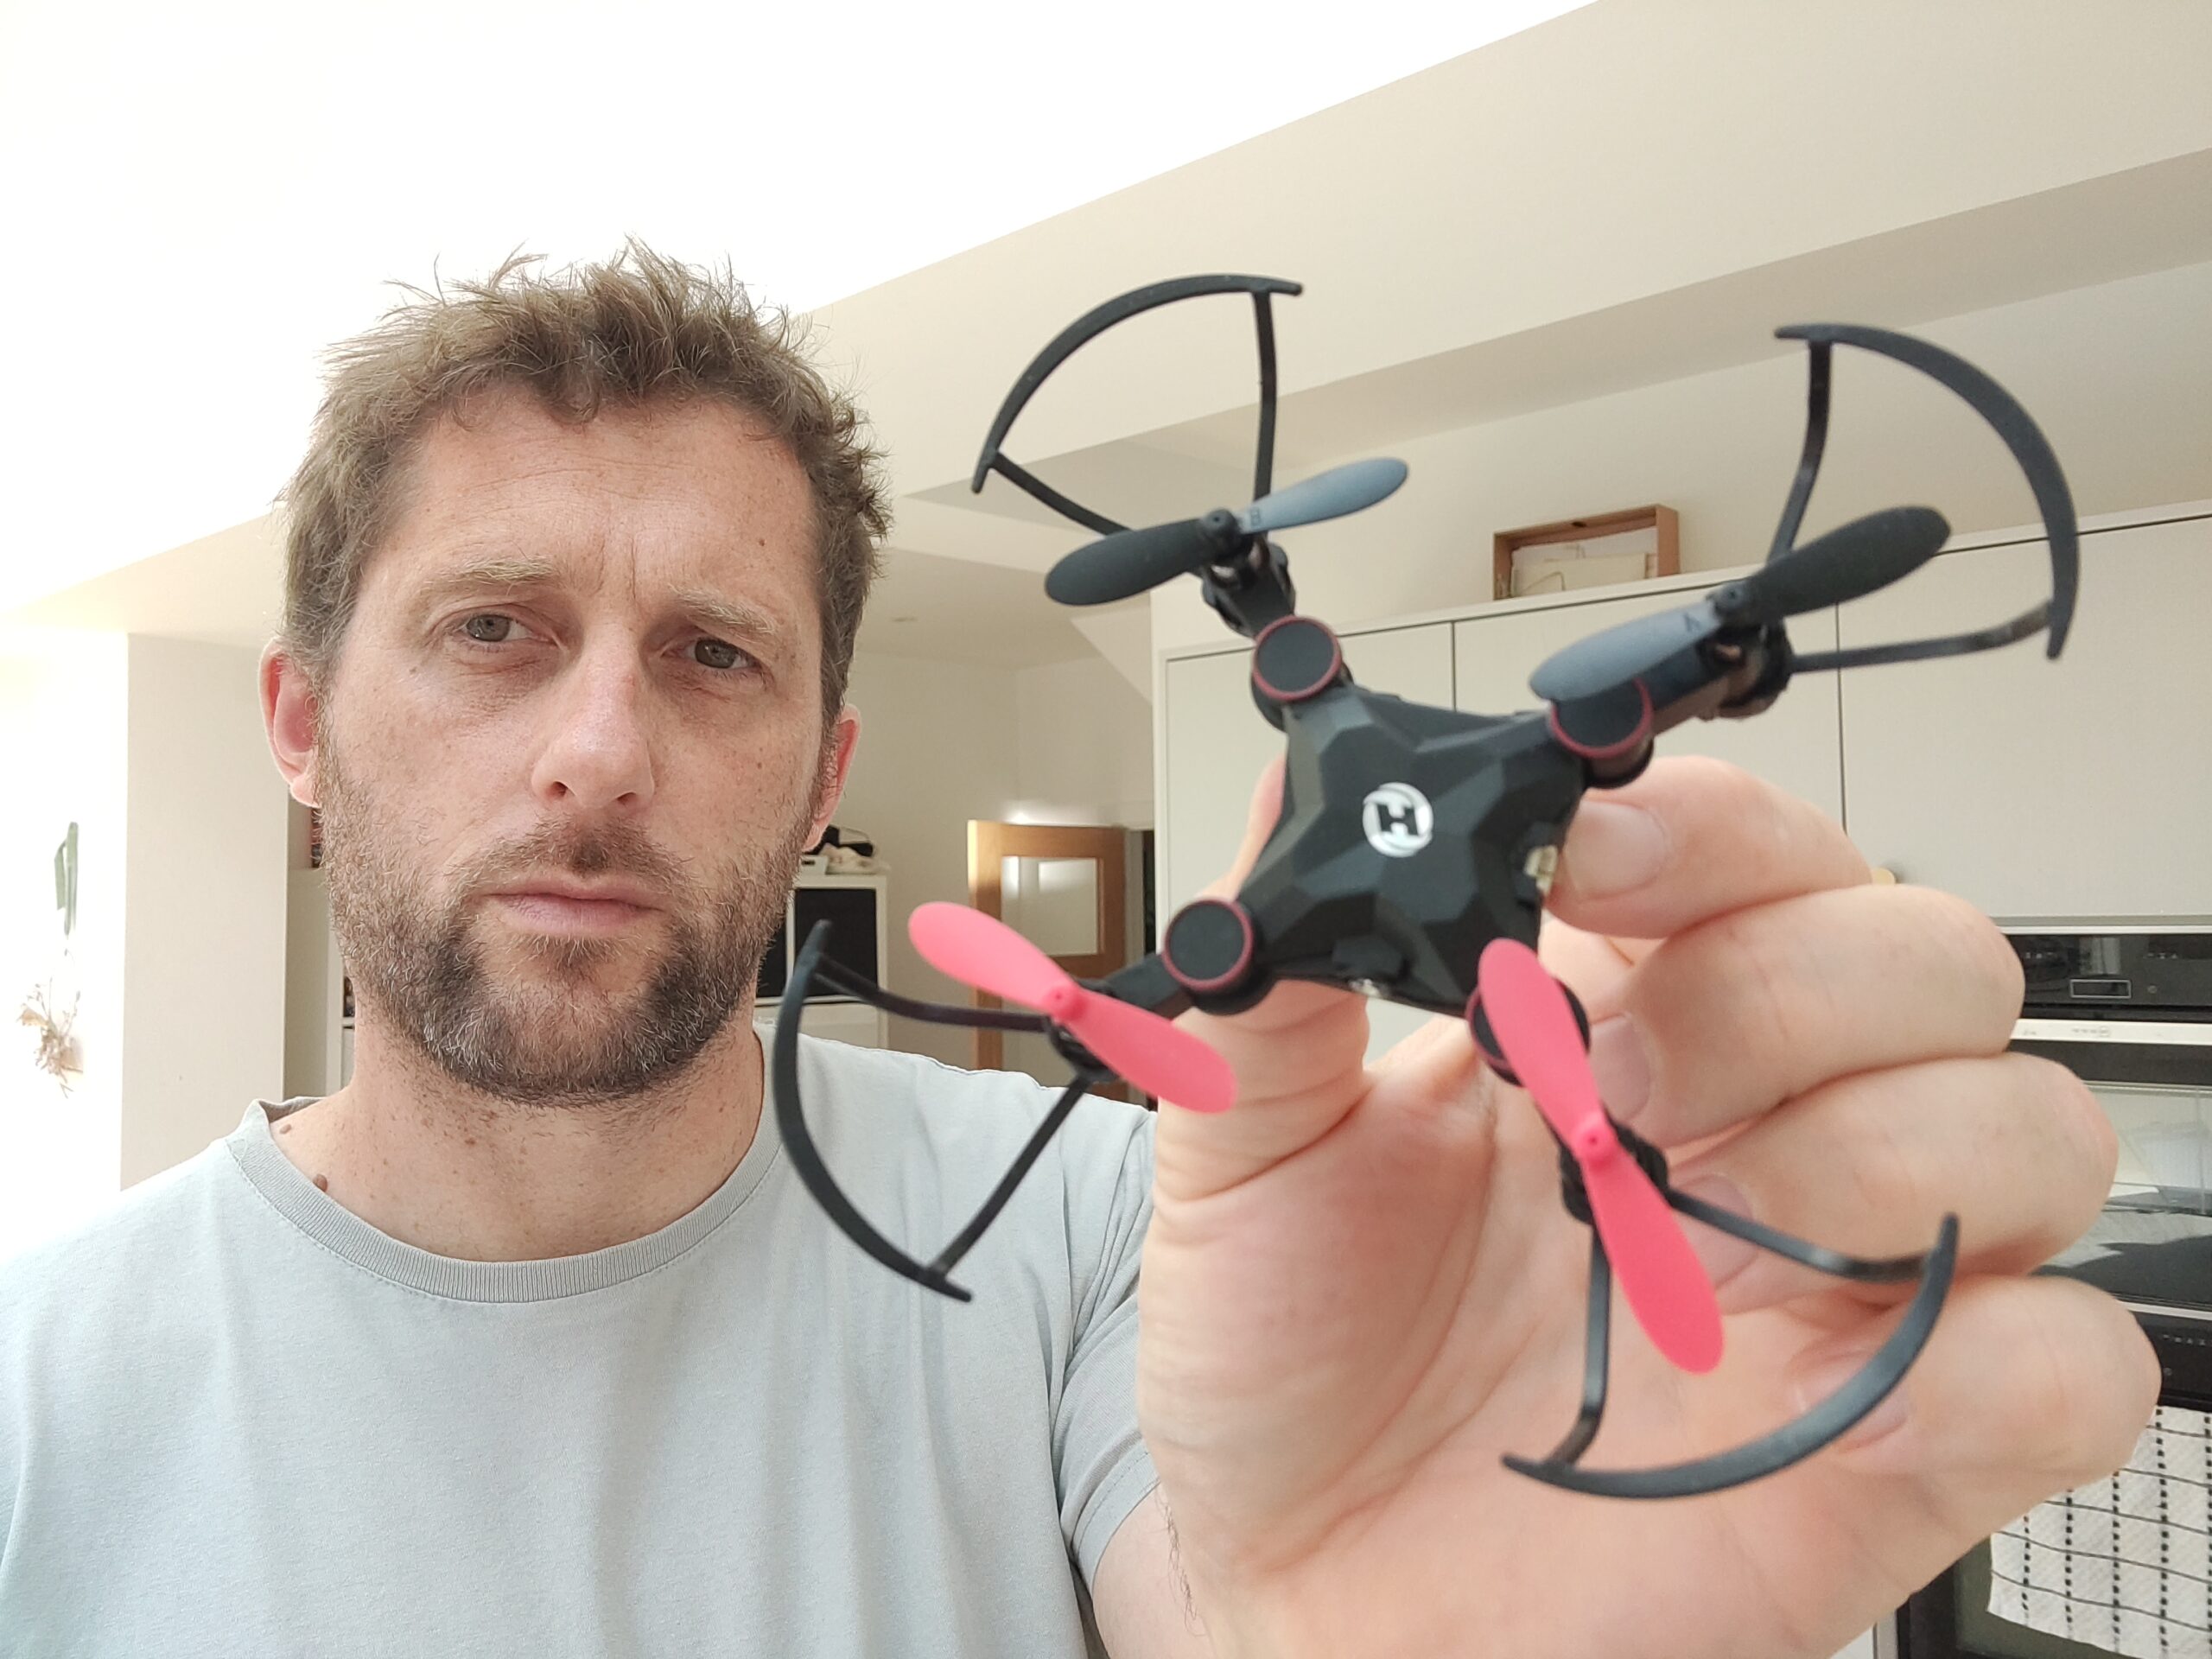
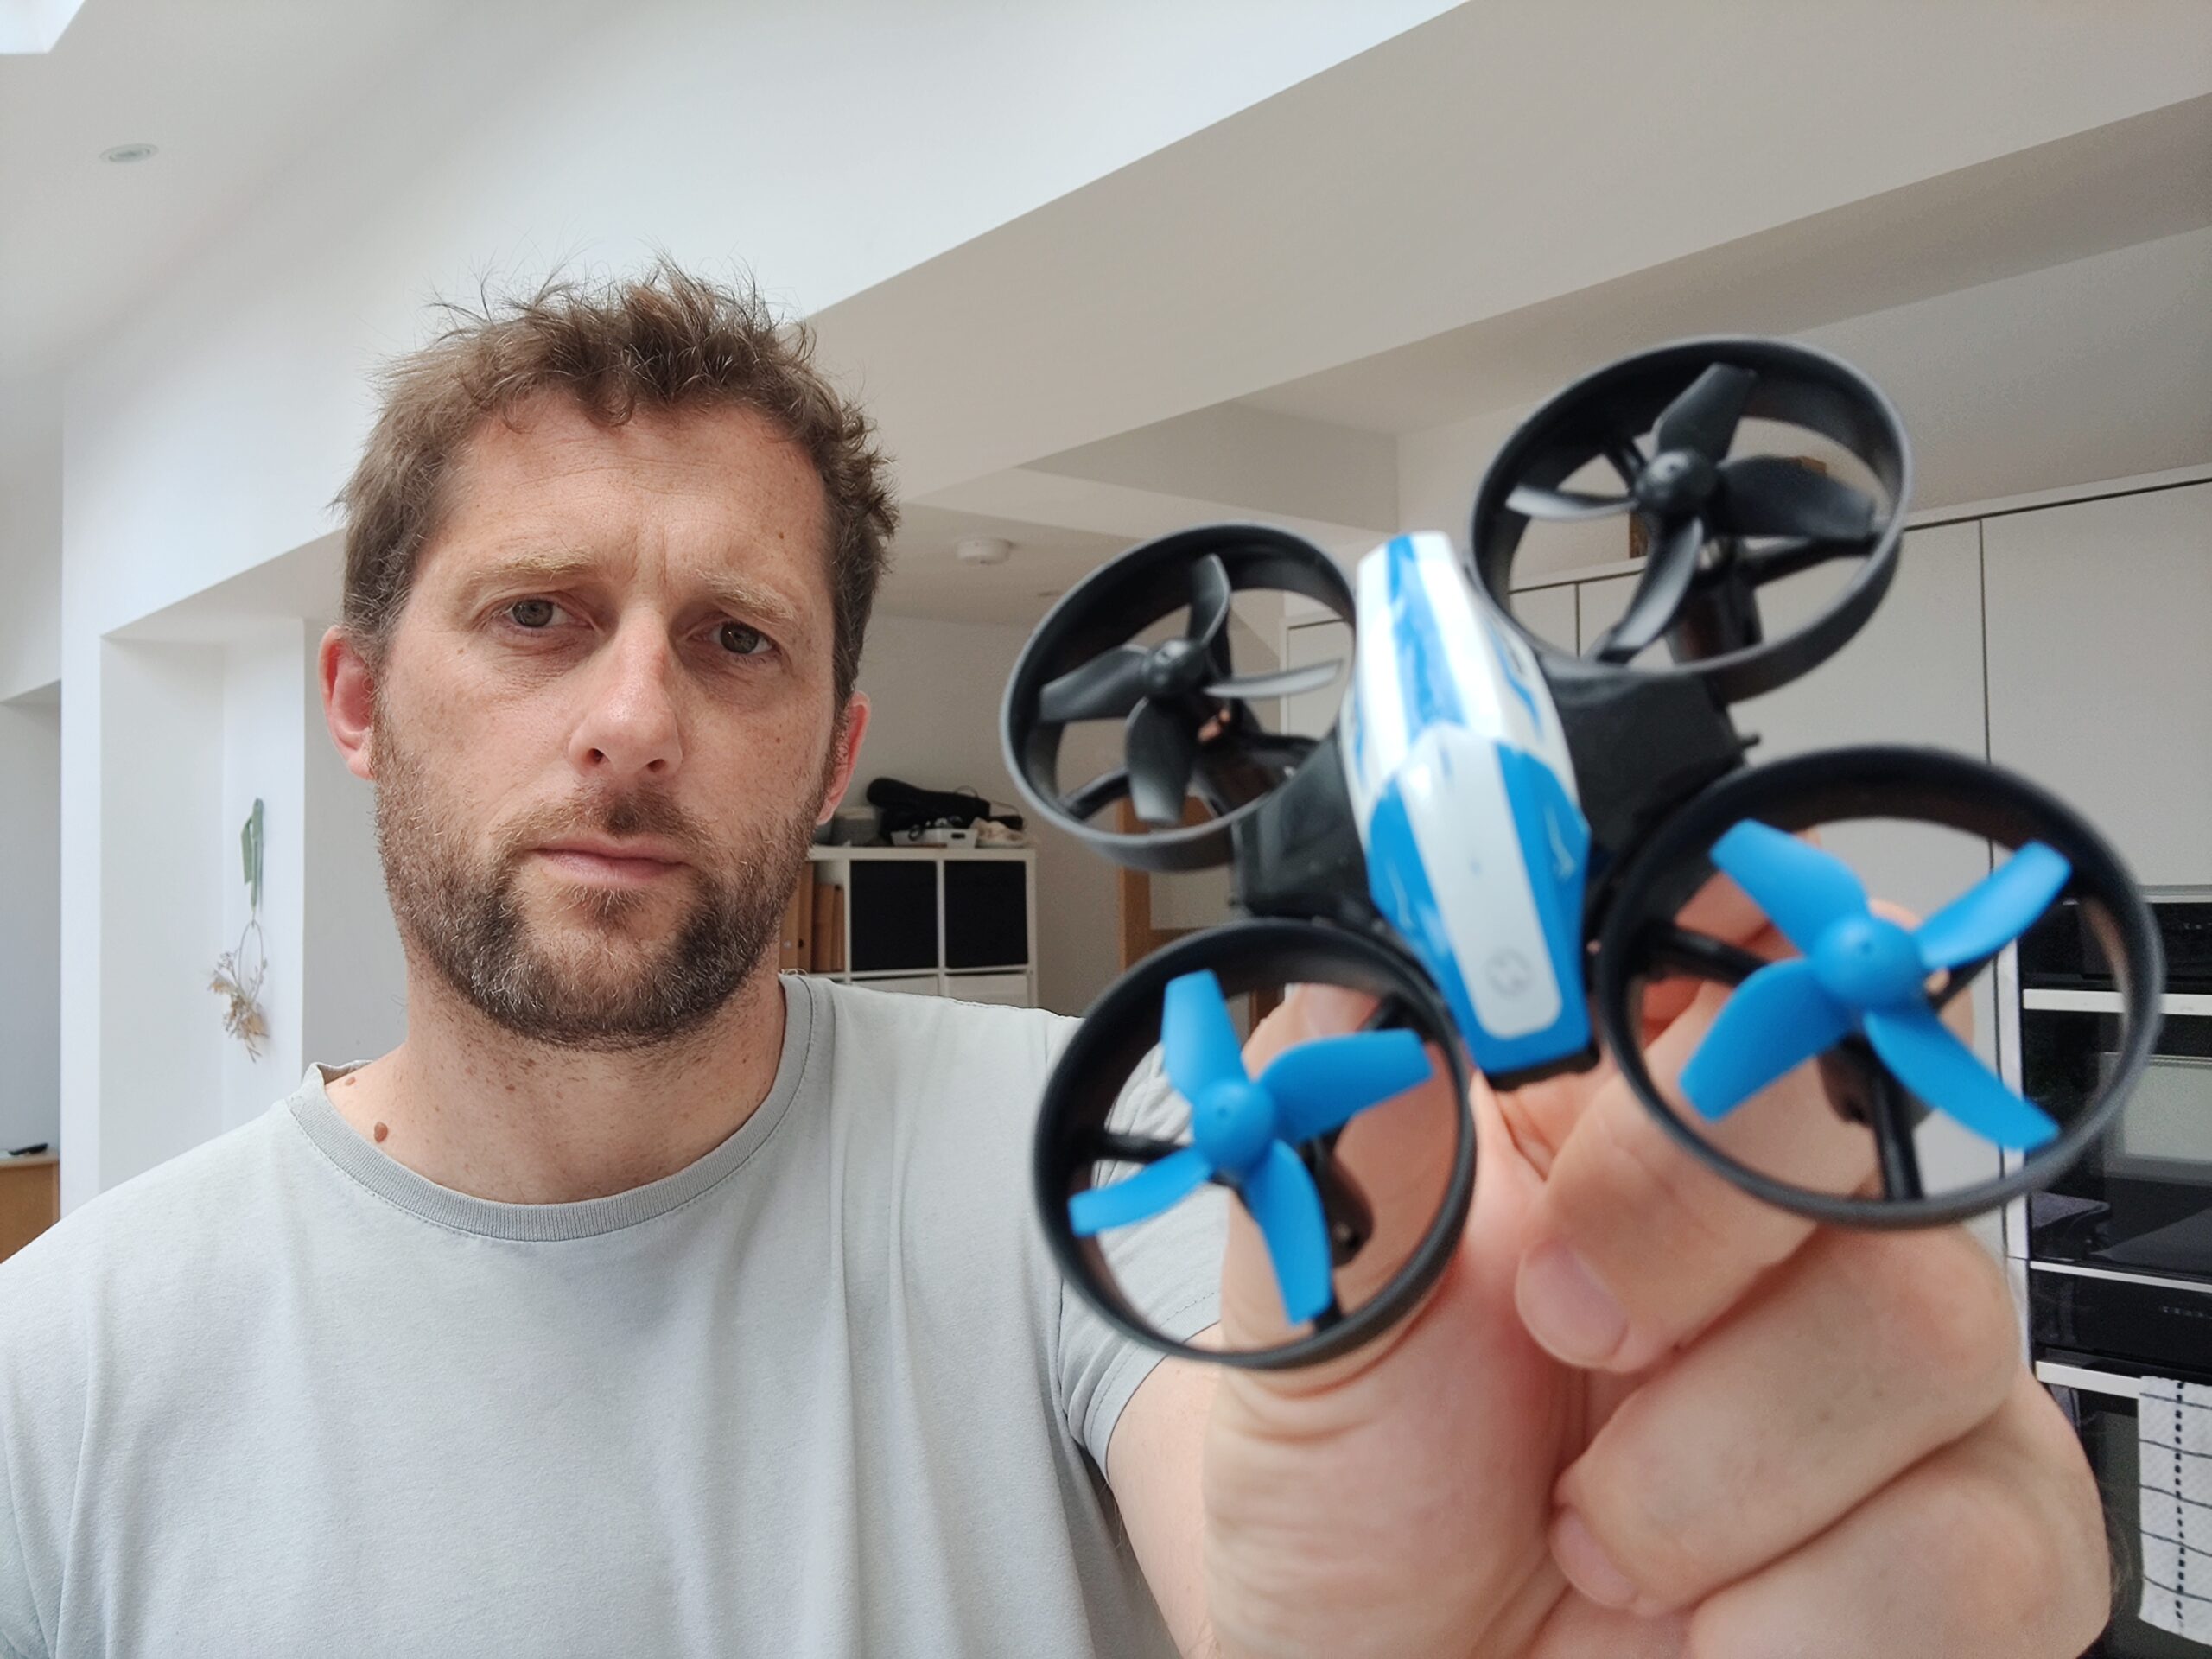
Holy Stone – HS190 Drone Review
You can buy this drone using the link below. I earn a commission on any purchase … Read more
You can buy this drone using the link below. I earn a commission on any purchase … Read more
You can buy this drone using the link below. I earn a commission on any purchase … Read more
You can buy this drone using the link below. I earn a commission on any purchase … Read more
You can buy this drone using the link below. I earn a commission on any purchase … Read more

You can buy this drone using the link below. I earn a commission on any purchase … Read more

As a kid I was a huge fan of remote controlled toys. Growing up in the … Read more
You can buy this drone using the link below. I earn a commission on any purchase … Read more

You can buy this drone using the link below. I earn a commission on any purchase … Read more
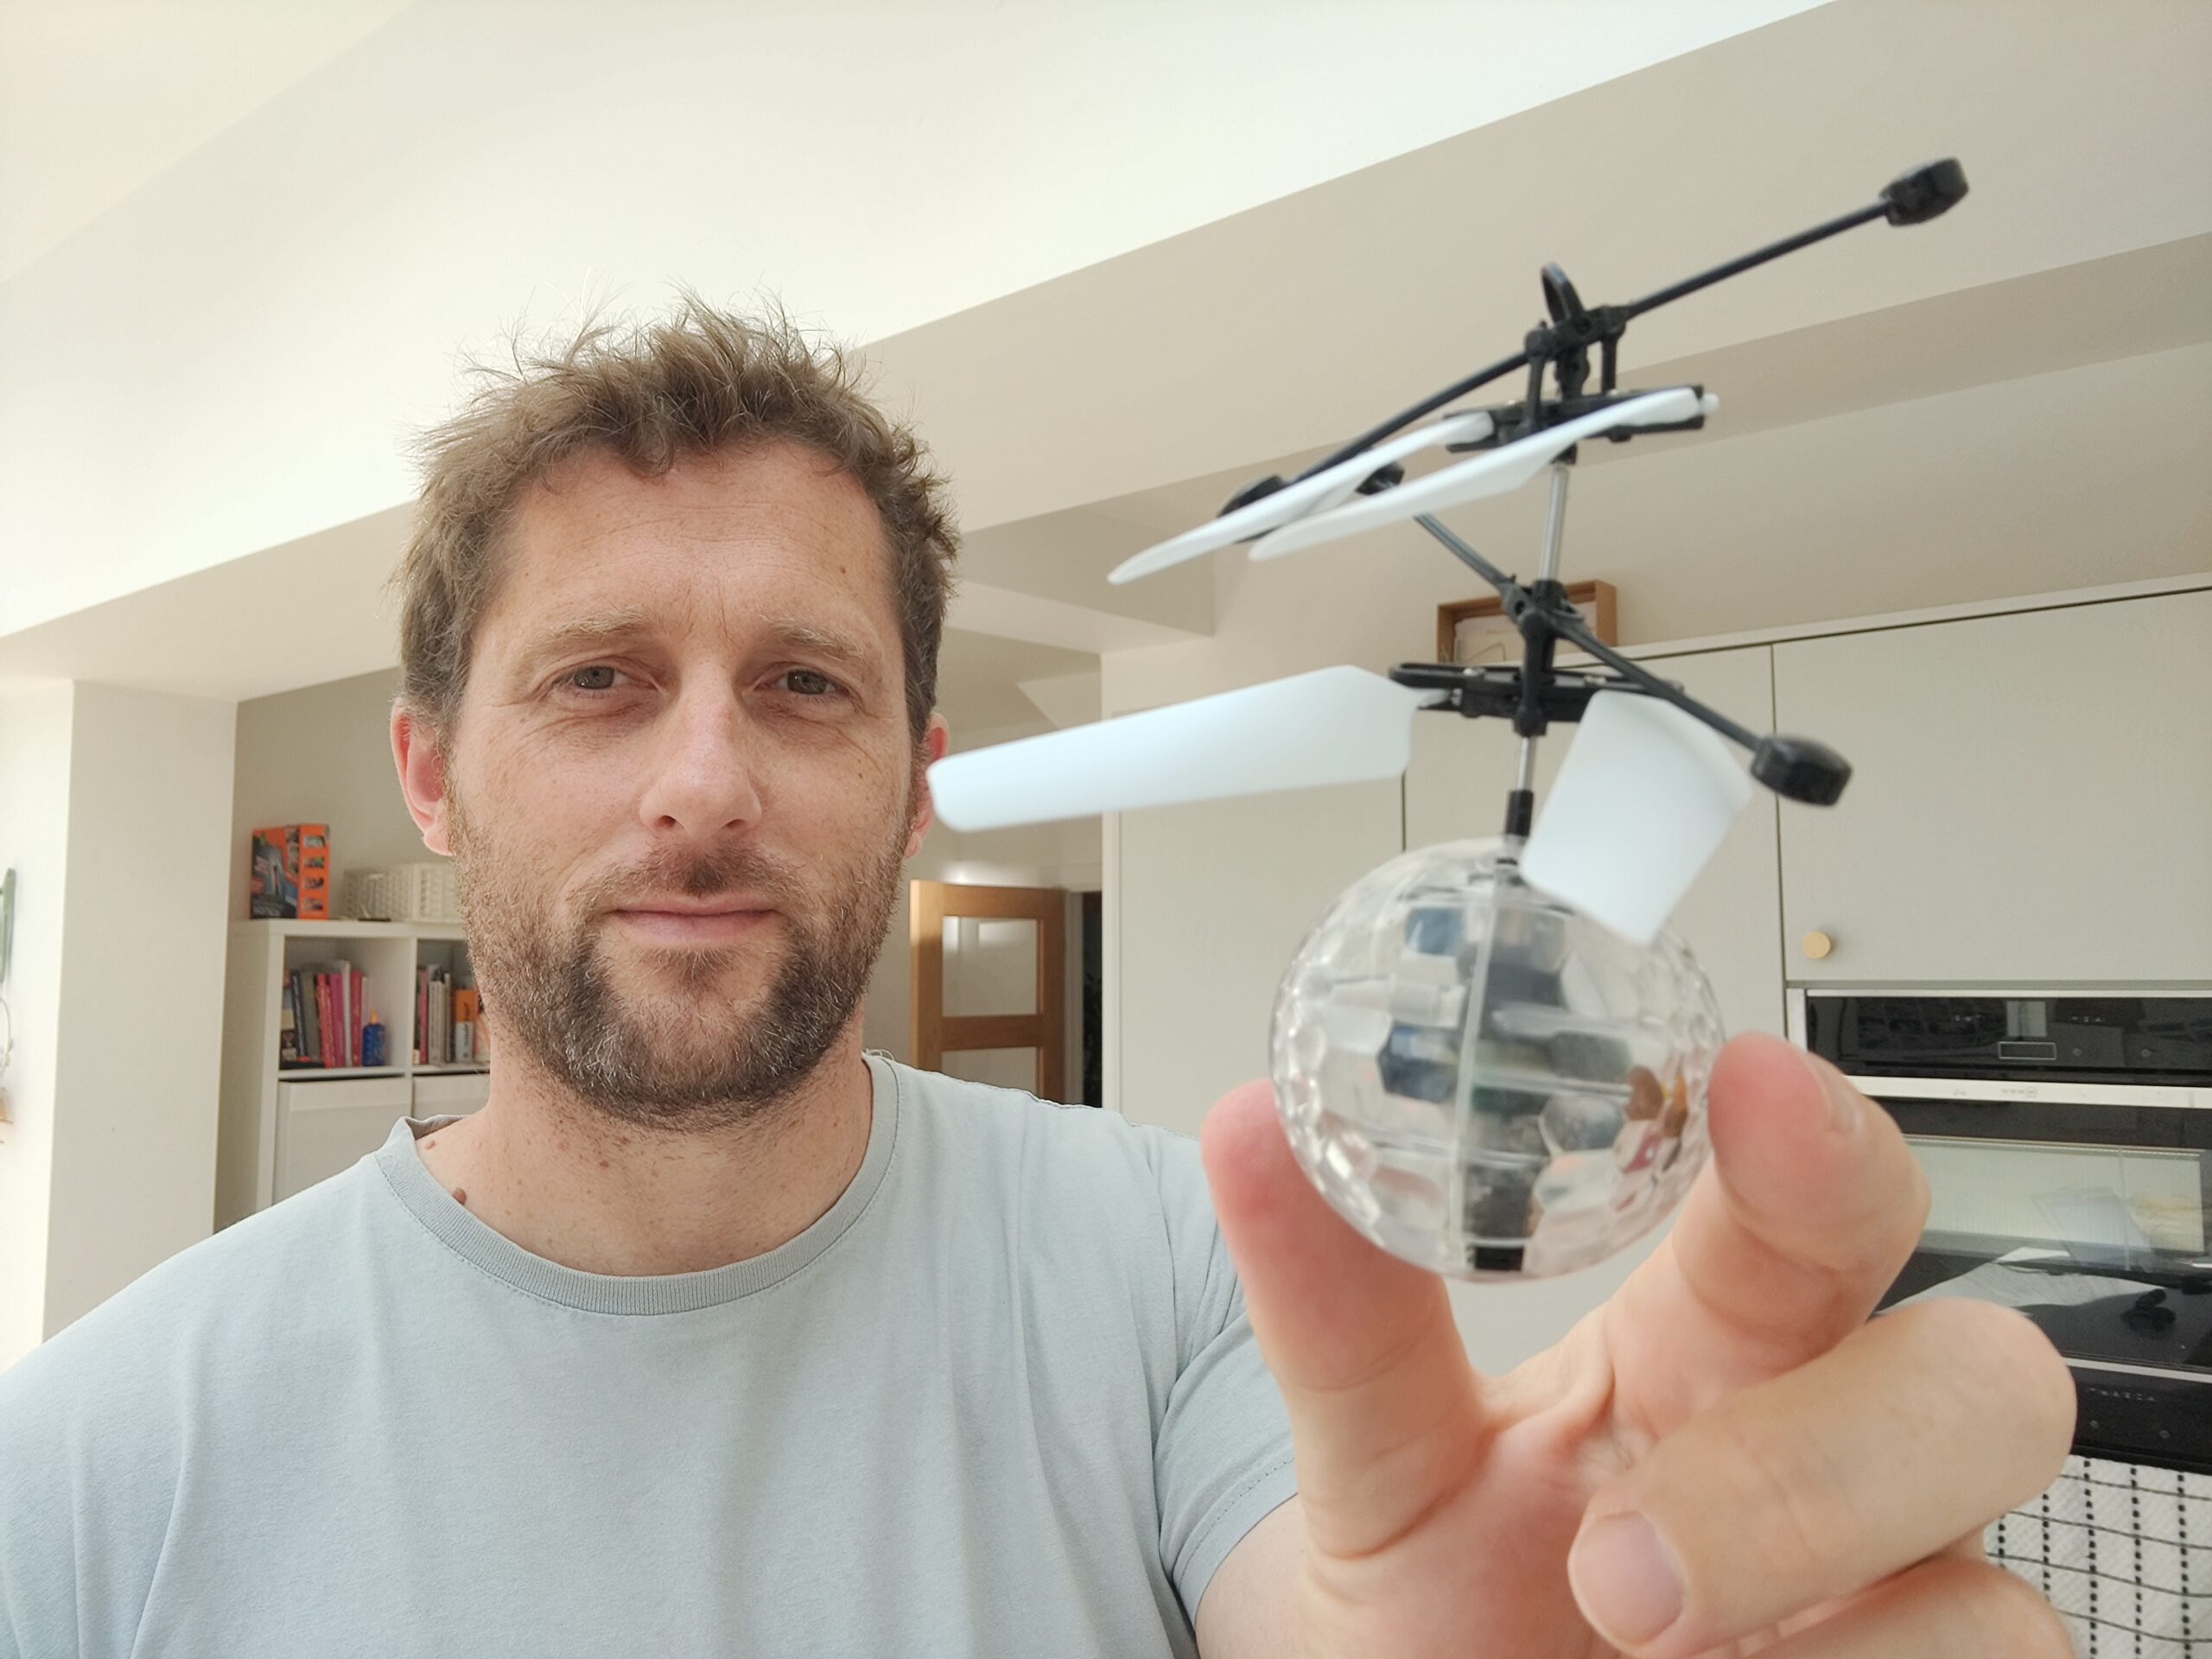
A note about the Flashing Crystal and Amazon The first thing to note in this review … Read more

You can buy this drone using the link below. I earn a commission on any purchase … Read more